The right bushings on your skateboard (and not only electric) !
On a skateboard, the bushings are the rubbery rings that fit around the kingpin on the trucks. Made of polyurethane, like the wheels, the bushings define how the trucks behave and flex, and consequently, how your board turns and how you feel with it.
It is fascinating to see how this little part of the board can be the strongest influencer on its behavior, and how much many e-skaters do not consider it at all! The bushing is one of the cheapest ways to change how your ride feels completely. You can spend somewhere between $14 – $23 (for 4 bushings) and It can take a dead feeling board and make it feel like a brand new one.
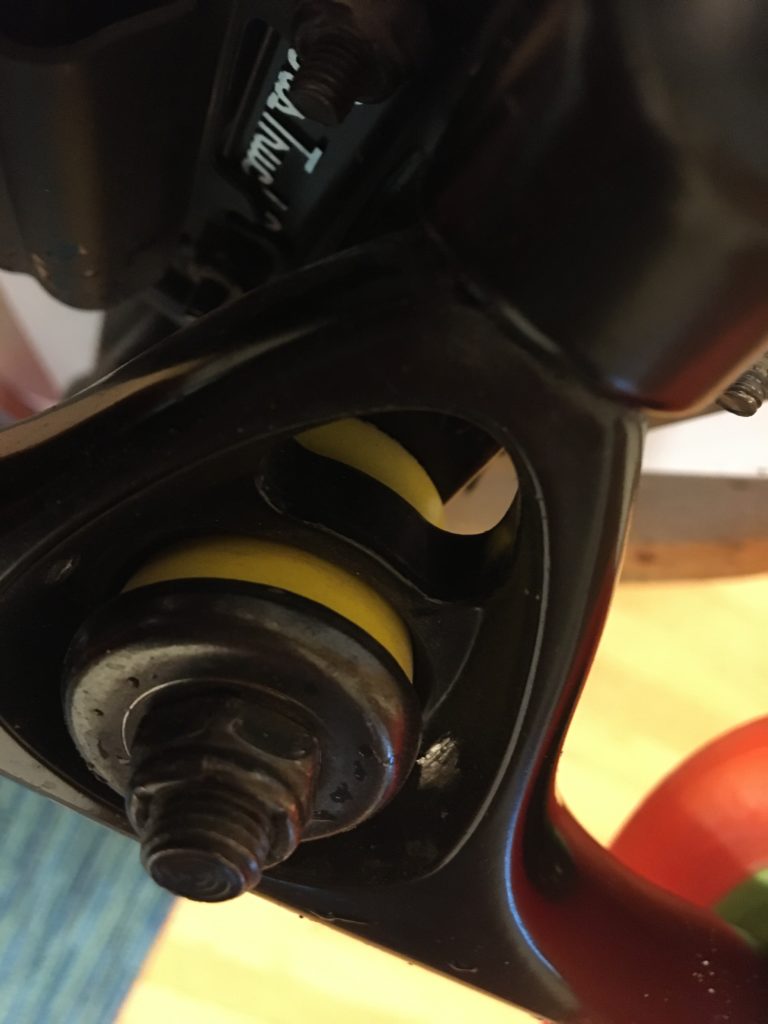
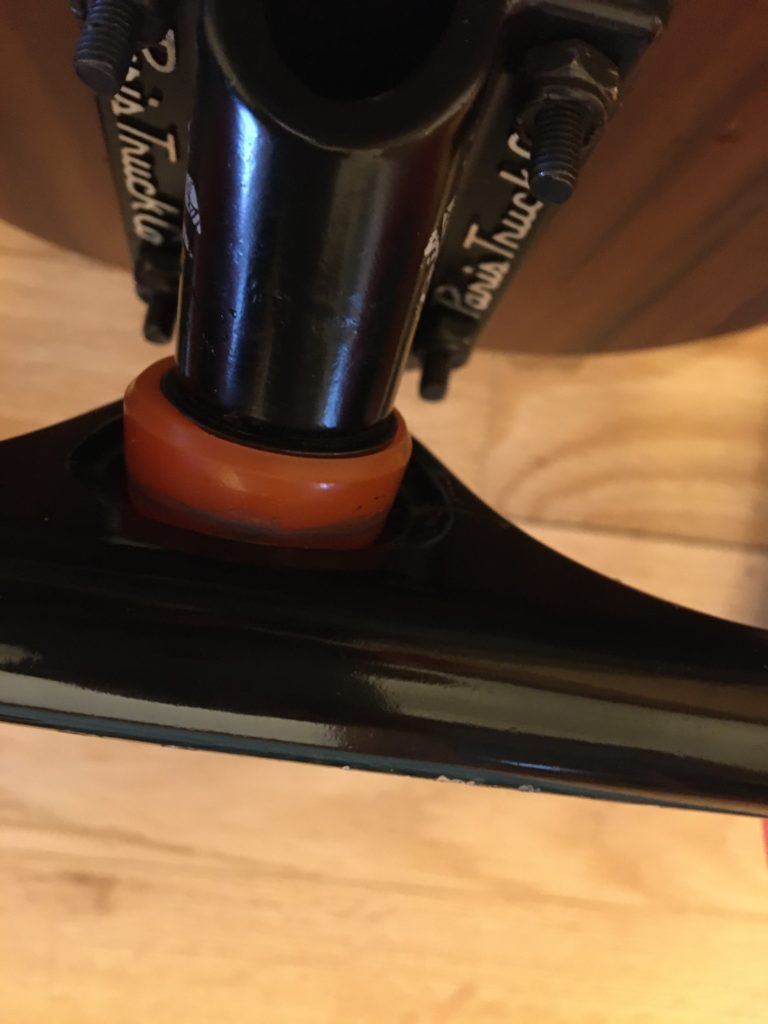
On each of the 2 trucks of your board, there should be two bushings. One on the top (deck side), which is on the kingpin above the hanger. The second bushing is at the bottom (road side), on the kingpin between the hanger and the baseplate. The top bushing defines how smoothly the skateboard truck will turn. The bottom bushing can be tightened or loosened and will make your trucks more or less responsive.
Bushings configuration have a big impact on board stability, flexibility, comfort. It covers all aspects of the board riding experience, including wobbles, carving facilities, turning capacities, safety,
Lets review those aspects.
Speed Wobble and bushings
Bushing quality and configuration will play an important role in the way you will control the wobble of your board.
When you begin to ride fast, the speed wobble begins a real danger. This oscillation of the board is what frightens the most skateboarders when they discover it for the first time. Our electric skates can easily go over 40 kph, and at such a speed, on a road bump, a board can begin to wobble, and the crash can be pretty serious.
Many electric skaters are beginners and they do not immediately understand that skating over 30 kmh is usually a highly difficult and competitive practice (coming from the skateboarding activity of downhill riding) requiring a lot of experience. At 50 Kmh, you can hurt yourself badly, and any bump on the road or unexpected carving will initiate a very difficult to control wobble. Problem: if some costly boards are designed with this question in mind (like Loaded x Unlimited products), many low-cost boards or strategical parts – like trucks from DIY vendors – are equipped with bushing configuration and quality that are not made to handle high speed.
When you buy a Caliber II truck, you buy with it a high level of bushing quality, precisely a 89a Blood Orange Ultra-HR Barrels, made with a precise formula of urethane, industrialized and engineered by Californian companies with decades of experience in the skateboard industry. When you buy on Aliexpress a Caliber II like truck, you don’t know what you really get (except a copy of a legit industrial property for the Caliber …), and certainly not a good quality bushing,
Consequence? Unexpected wobble apparition, tightening as an answer, and again non previsible wobble apparition, then difficulty to control the board while carving, and finally instability, fall, etc …
Many beginners – and especially electric skateboarders – believe that tightening the trucks is the solution to feeling safer: in fact, this is the worst possible solution. It is the first and cheapest option coming to mind and it works to some degree but has serious problems to consider. Tightening your trucks is simply postponing the point at which you wobble and also making you rider experience at low-speed unpleasant. Go a little faster and you are going to get wobbles again. Try to carve or trick at low speed, and your board is dead, not turning at all. To top it off, it is way more difficult to tell where that wobble point is after excessive truck tightening. And when you go faster you will get the wobbles again, and they are going to hit you quicker (less warning) and harder than before. In addition, a common mistake by skaters is to destroy their bushings by over-tightening their trucks.
The good way to prevent wobbles is to design a proper bushing setup, not to tighten the truck.
This is not the solution: the good way to prevent wobbles is to design a proper bushing setup (and to improve your skating skills). You will never make your 78a bushings (the number with a letter is the Durometer value, defining the hardness of the bushing material) feel like a 95a by tightening a truck equipped with poor urethane bushings. It just doesn’t work like that.
Durometer: The bushing durometer rating is a number between 70-100 that represents the density of a material (it can be also seen as “hardness”). The durometer value is not specific to the skateboard industry but used in many industries to measure resistance of materials. The letter “a” following the number indicate it’s on the “Shore A” hardness rating scale. Lower values like 78a define a softer value of the scale than a 100a bushing. Durometer values define the same hardness of materials for wheels and bushings (a 90a wheel have the same urethane hardness as a 90a bushing) but the usages of hardnesses slightly difer between wheels and bushing (a 99a wheel recomanded for a skatepark usage do not means that you will use 99a bushing for this setup – in fact quite the contrary).
Wheel bite
Another often claimed aspect of bushing influence is their capacity to reduce wheel bite. Wheel bite is a skateboarding terminology describing when the wheels make contact with the deck during a turn or a trick. This makes the board come to an immediate and brutal stop, resulting in the skater to eat shit (Urban dictionnary definition of wheel bite).
In our opinion, changing and tuning bushings are not the best way to fix a wheel bite risk. That kind of risk should be handled by a proper design of the board: including a correct selection of wheels size, shape of the deck, and size of risers. A good design will prevent successfully any risk of wheel bite, especially on an electric skateboard.
Comfort to ride and tricks
Finally, a proper bushing setup will influence some riding factors like return to center, rebounds,
Return to center simply means how well the trucks come back to their center so the board goes straight again. Larger bushings usually have a better return to the center because there is more material to push the truck hanger back to that centerline. According to your riding style (fast, tricking, cruising), you will need a quick or a slow return to center, a heavy or a smooth rebound, Some bushings compress and release to perfect center, fast, and nearly automatically; others bushings compress and stay in position longer: you will have to help those to return to center. All this influence your riding experience.
At this point in the reading, you would probably say: if this little piece of urethane has so much impact, it is necessarily taken into account by the e-skate industry when they design their product? Apart from a few exceptions, nothing is more wrong. It does not look normal for us that pricey boards like the Evolve ones need to be improved with optional ‘high-performance bushings‘. And it is not normal for us to see a Caliber truck clone sold by Mboards at a not so low price, being delivered with unknown bushing whose ‘color may vary‘ (meaning it is nearly impossible to know what bushing equip this truck).
This is a fact: for such pretension of quality and performances (according to the price compared to other boards or other trucks), the proper quality of bushing should be included by design but it is not so often. By chance we can fix that by ourselves!
Understanding bushings
Skateboards technology has it roots in the USA. And more specifically, Although there is some inconsistency in its origin story depending on who you ask, skateboarding began to take hold in California and Hawaii by the late 50s. In the early 1970s, however, a breakthrough material was gaining popularity in industrial circles. This material was called “polyurethane”, and a man by the name of Frank Nasworthy quickly took notice of this material. This material was at first applied to produce new generations of skateboard wheels. The elastic nature of this new material allowed for much faster-riding speed and quicker turning without worrying that the wheel could “slide-out”, as was common for the steel wheels of decades past. A few years later, a high rebound polyurethane took over the marketplace with their even more advanced capabilities. The superior wear qualities, combined with increased grip and a smoother ride, made for a total rebirth of the sport. High rebound polyurethanes allowed riders to adopt even more aggressive riding styles, like downhill slalom. [source]
Truck bushing were a marginal part of the skateboard design. They were included into the truck, that’s it. But at some point, some riders, and specially downhill ones, began to cutout bushing … in urethane wheels. A whole new product family was born with a lot to offer.
Bushing shapes
You will find many names for bushing (barrel bushing are called Niples by Orangatang) but at the end, there is three main shapes of bushing available: cone, barrel, and stepped barrel. Each shape offers different turn characteristics and can be mixed and matched to achieve a unique configuration, to fit any ride styles.
– Cone
A Cone bushing is very turny. There’s not a lot of urethane there, so as the truck leans over, the bushing offers about the same resistance as you lean the truck over in the turn.
They are great for transportation and carving because they make your board very lively and responsive at slow speeds but less stable at high speeds.

– Barrel
Barrel bushings are designed to fill the entire bushing seat to give the rider increased stability for more aggressive freeride and downhill riding.
A Barrel bushing has a lot more material on it than a cone. As you lean the truck over, the bushing offers more resistance. So the harder you turn, the harder it becomes to turn further, and the more your truck wants to “bounce back” or return to center. Barrel bushings are good for more stability, a progressive lean, and heavier skaters.

–Stepped barrel and Eliminators
The stim shape is a general term for any stepped bushing. Stepped means that the bushing looks similar to a stair-step. There are numerous ways to design the step shape. Riptide has a shape called Chubbys :

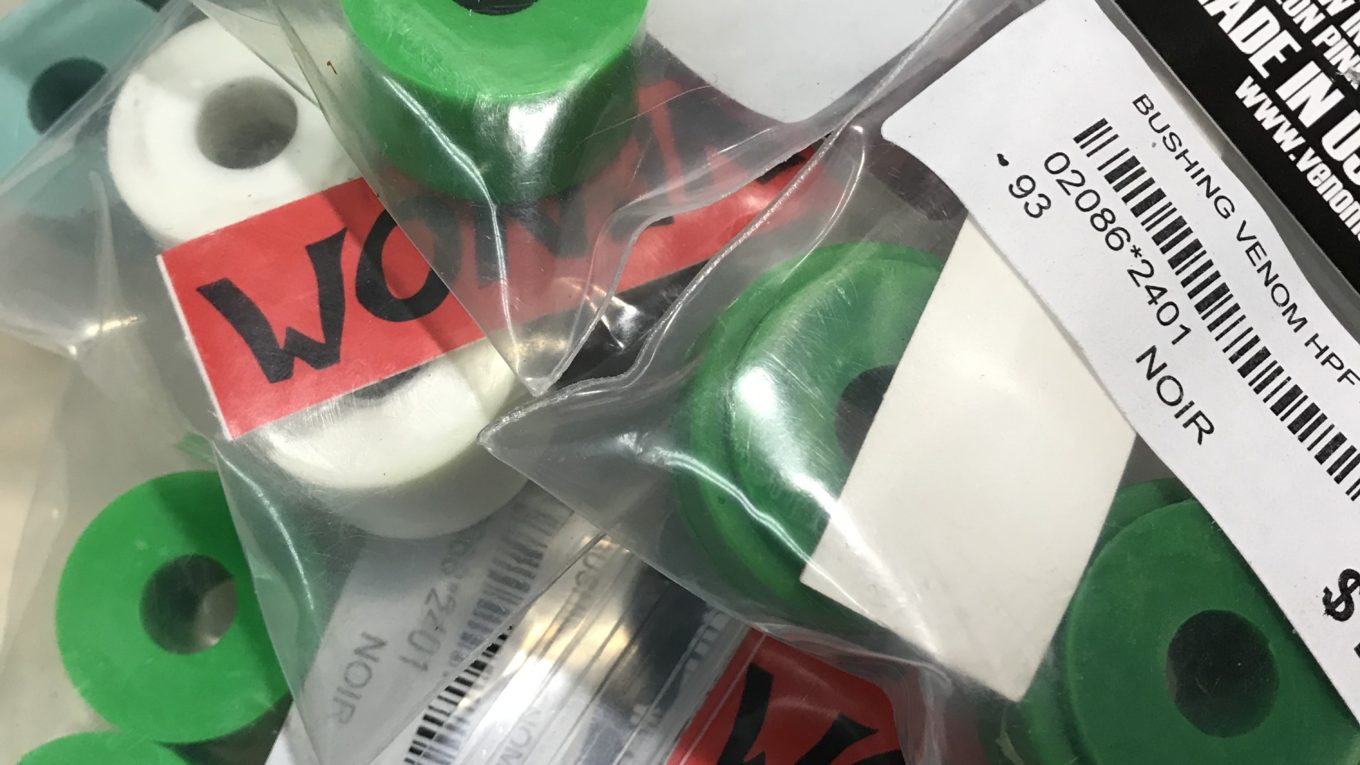
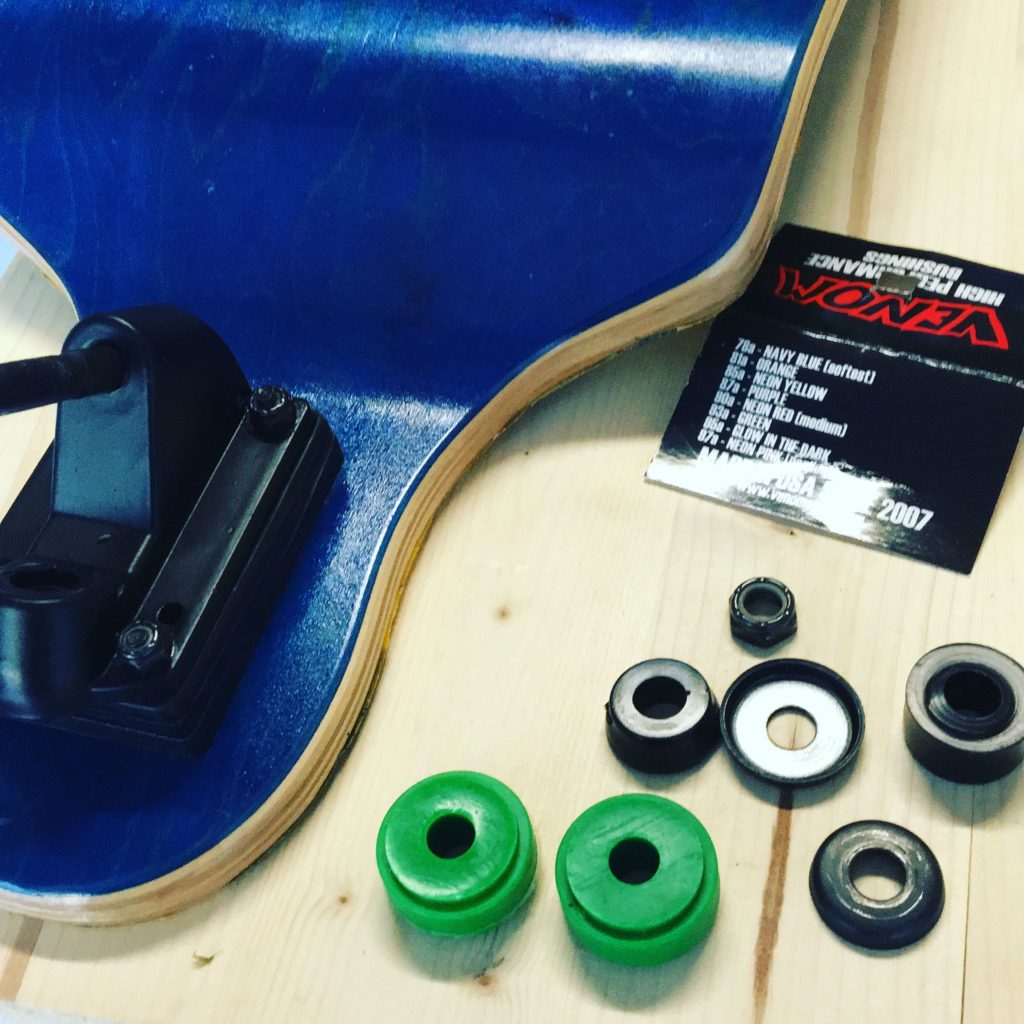
while Venom offers in its product line a shape called Eliminators:

The smaller stepped part of the bushings are usually around the same diameter as a barrel shape. meaning the rest of the bushing is wider in diameter. This allows for more stability without having to increase the durometer hardness. Stepped shapes are usually used on setups where you want to go fast like downhill or any other time you don’t want your truck turning as much. With a stepped barrel, the truck will have a very strong return to the center but will also make you press harder to have the board turning.
If you run 4 of these in your trucks, it will limit your ability to turn. So, 1 pack used at the rear can be enough for most longboard setup, usable for high-speed downhill, with a barrel on the front. But if you’re on the heavy set side, you’re able to run 4 of these in your trucks while still getting lean and turn out of your setup.
Skating an eliminator can make your trucks feel a bit “squishy,” as you are rolling on so much urethane that the truck tends to wander around a bit as you lean it over. They can feel also very “wallowy,” and plush compared to smaller bushings. This means the equilibrium will be different at the beginning and that you will have to adapt your carving style if you come from street cruiser carving.
Hardness of the bushing
Bushings, like wheels are made of urethane and this material can be poured in a range of hardnesses. Hardness is measured in “durometer,” which is like a percentage scale – 0 is softest, 100 is hardest. There are different “scales” of hardness – A, B, C and D scales. A is the softest, and D is the hardest. A chewing gum durometer is of 20. We are most interested in the range from about 78A up to 99A for electric skate bushings.
Choosing the right durometer is critical to getting your trucks right – alongside washer choice and bushing shape selection, it’s the difference between a crappy truck and the best trucks you’ve ever ridden. The harder your bushing, the harder your truck will be to lean and turn. A hard urethane offers a lot more resistance as you crank the truck over, and this gives more stability for going fast. The softer your bushing, the more reactive and turny your truck will be, and the less resistance the bushing has as you crank it over.
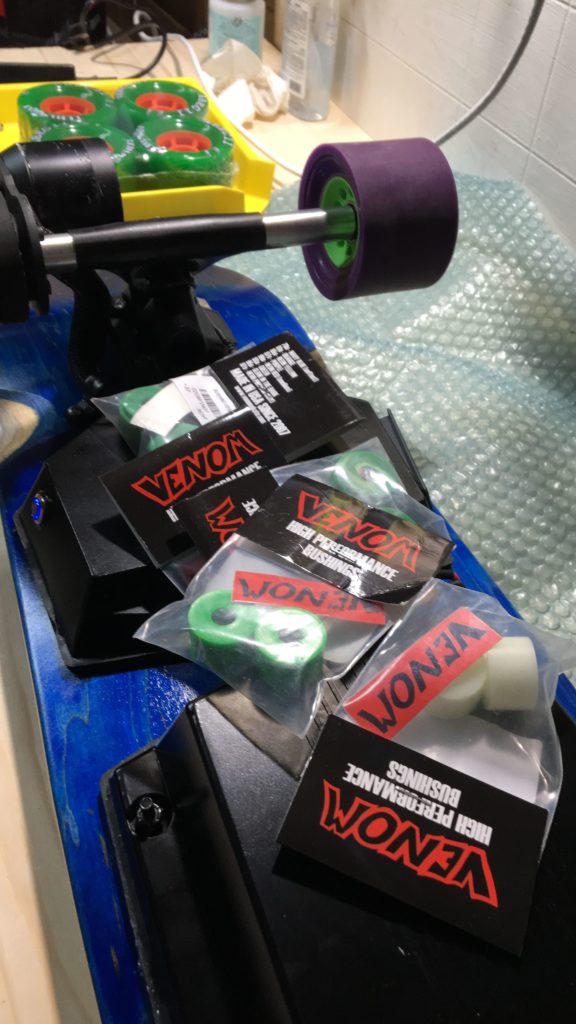
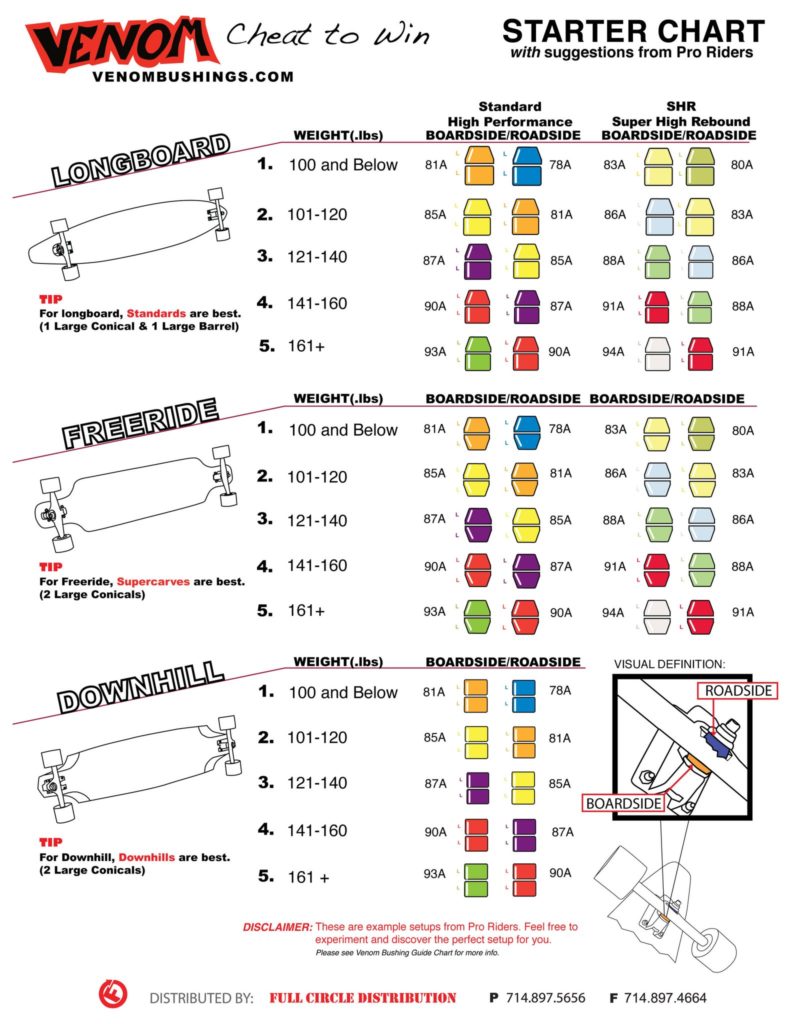
Durometer is not all, urethane formula plays a major role: Venom, for example, offers on the market two formulas: SHR and HPF : SHR means Super High Rebound, while HPF means Standard high performances. In terms of flexibility, a 91 SHR will feels as a 87 HPF, but the behavior will be different as HPF is more predictable while SHR offers more vivacity and can surprise a beginner.
Others parameters can play a role in your choice of bushings durometer : the deck nature. A flexy deck will twist as you lean, reducing the input to your trucks. A softer bushing can be needed to compensate. A stiff deck will transmit all of your movement straight into the trucks, so you need to run a slightly harder bushing to account for the higher response. Lower truck angles sometimes need a slightly harder bushing to prevent wheel bite.
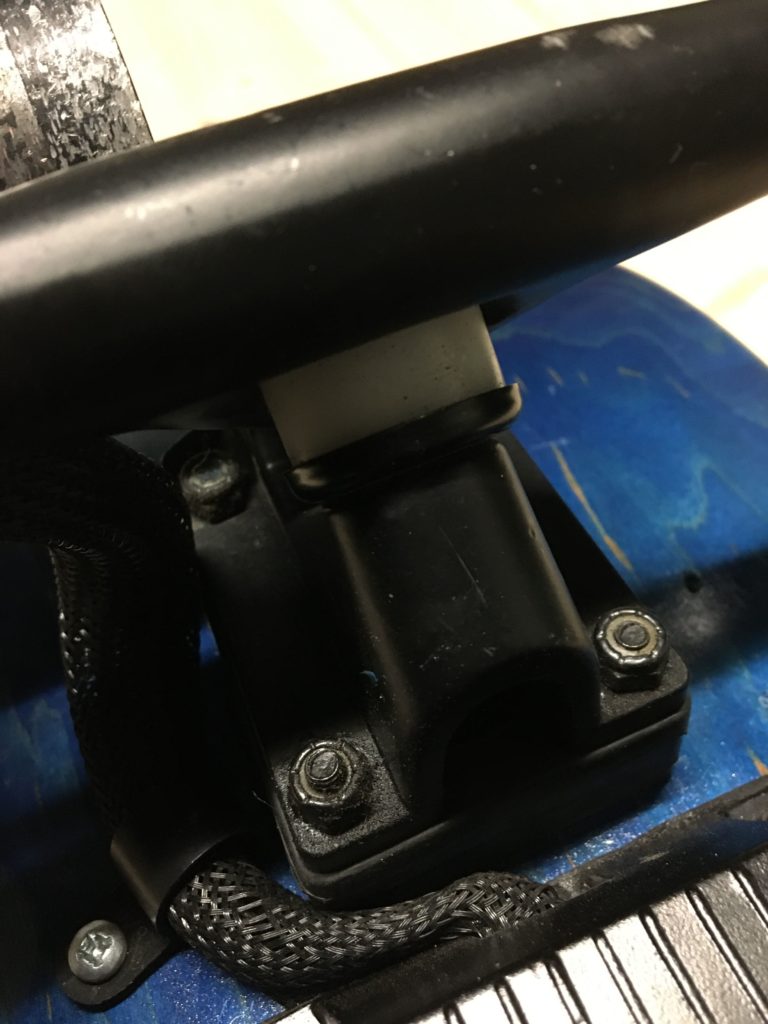
Venom 95a HPF (rear) 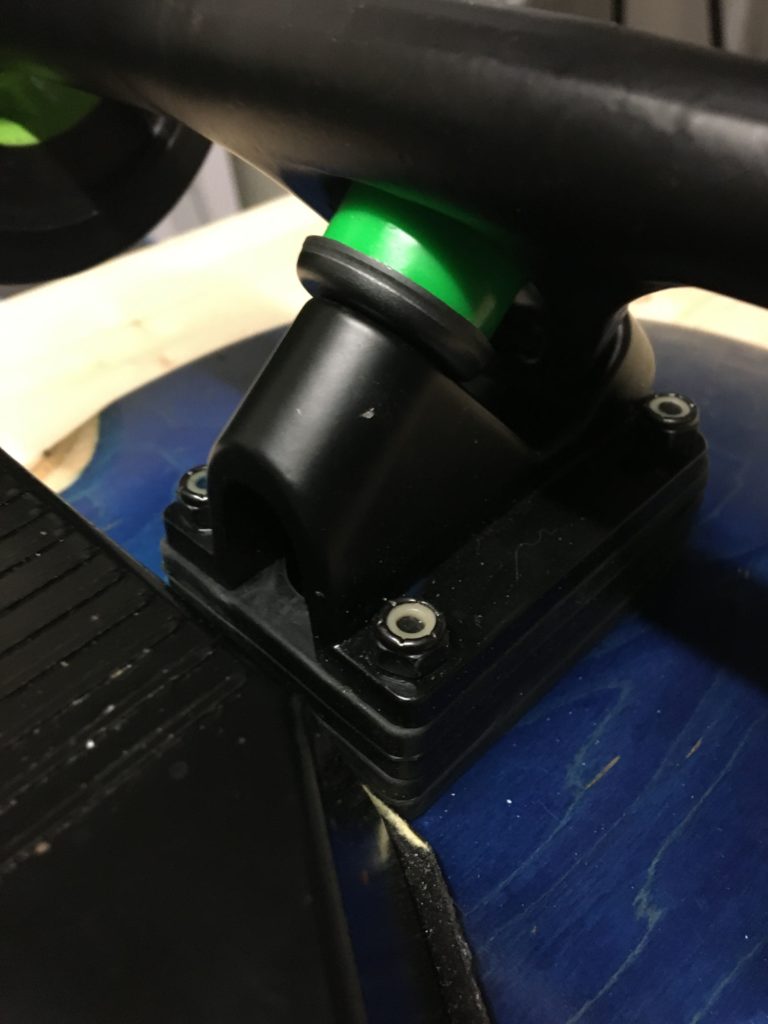
Venom 93a HPF (Front)
You need to arbitrate between your weight, your riding style and preferences when deciding the bushing durometer that you will use on your setup. Match your weight and riding style: the bushings will react to compression and the compression depends on your weight. If you choose a very soft bushing (80a) to ride at high speed and weigh 250 lbs, you will have the feeling of a highly unstable skateboard. And yes, that means a board fine-tuned for an adult will be difficult to use for a child. We suggest you to use the chart below to find a starting point for your bushings.
| Weight | Durometer (standard urethane formula) |
| 50-100 lbs (22-45 kg) | 73-80a |
| 75-125 lbs (35-55 kg) | 78-82a |
| 100-145 lbs (45-65 kg) | 80-85a |
| 125-175 lbs (55-80 kg) | 80-87a |
| 145-195 lbs (65-89 kg) | 82-90a |
| 175-220 lbs (80-100 kg) | 85-93a |
| 200-250 lbs (90-113 kg) | 90-93a |
| 225 lbs and up ( 102 kg +) | 90-97a |
The washers
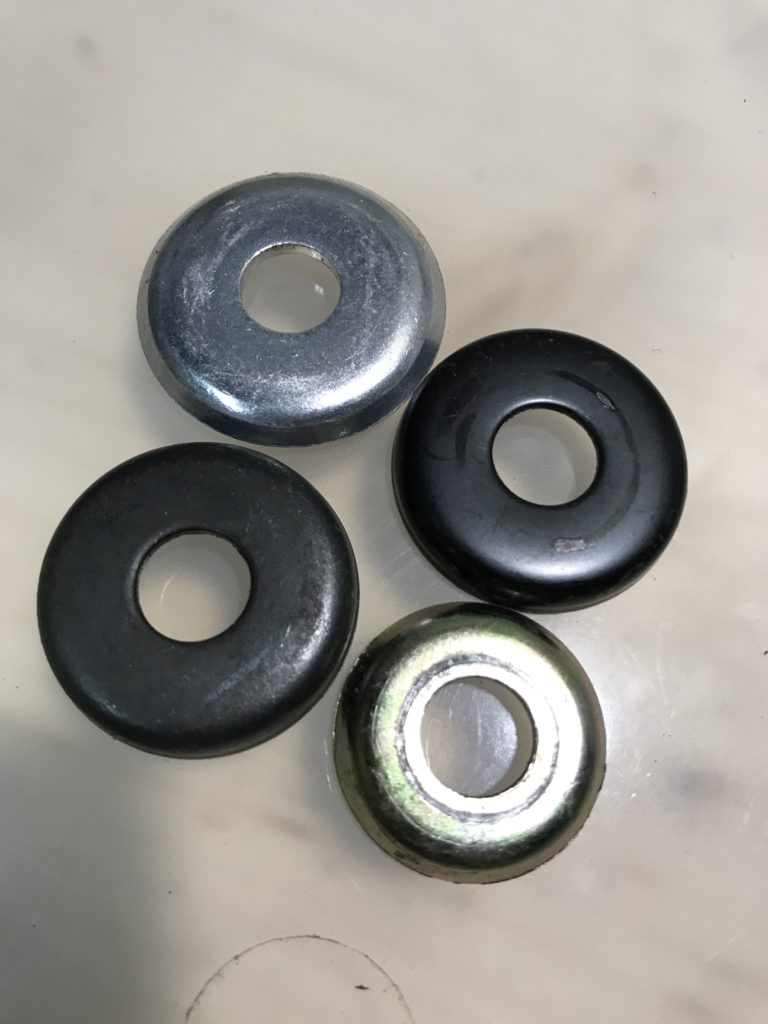
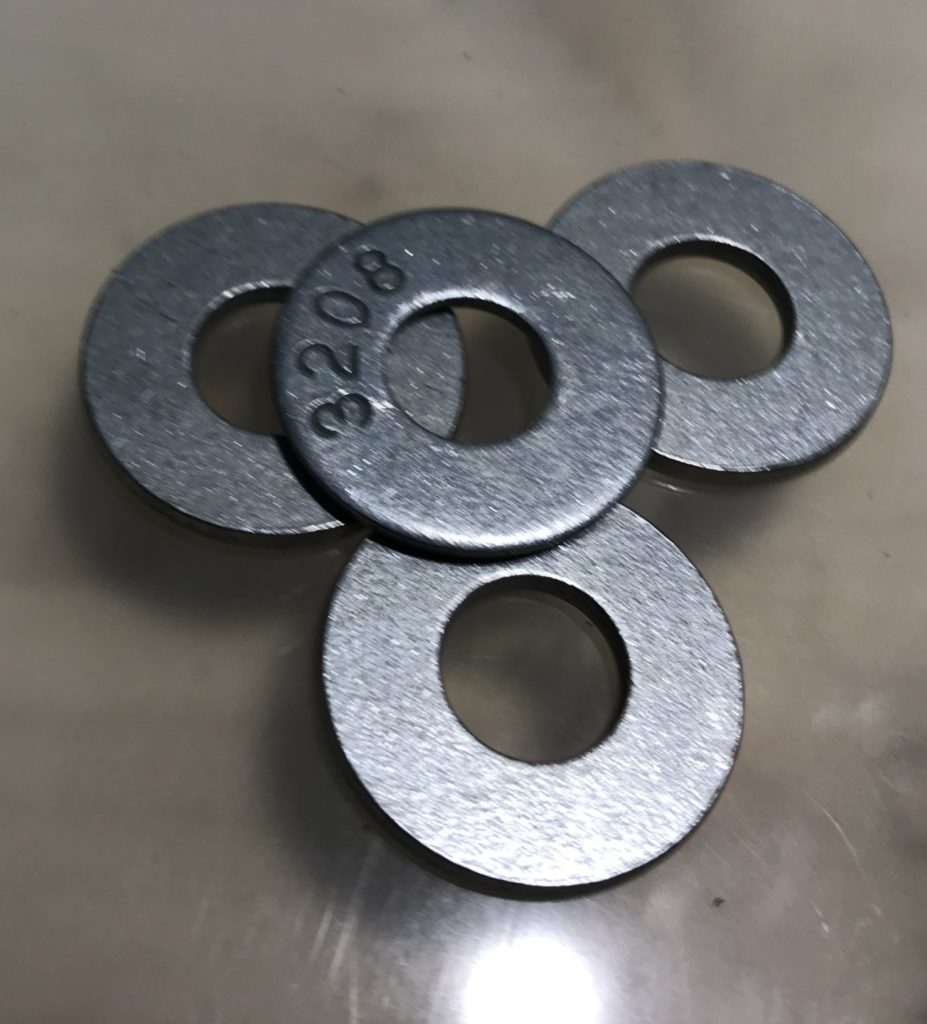
The washers can be chosen and their shape has an impact on the effect of the bushing setup. Usually, small cupped washers are for the cones bushings, large cupped washers are for the barrels and small flat washers can be used with the cones as well as the barrels. Flat washers offer less resistance than the cups. In certain comments, it is considered that flat washers are basically the same as using no washer at all! Using flat washers rather than cup washers allows the bushing to move around freely as the truck is leaned over. This reduces the “return to center”, and allows the truck to lean over more. Flat washers offer a more consistent amount of resistance but have less rebound as it takes them longer to get back in place. Wider flat washers make turning a bit easier as they restrict the movement of your bushings more. They also snap back in place sooner compared to narrow washers.
A common baseline configuration for set of bushings mixing cones and barrels (in Orangatang Knucles setup for example) can be cupped washers in the rears for stability at high speeds and flat washers in the front to maintain turnability (Knuckles comes with cupped washers for cones and barrels).
In our setups, we used cups washers with barrels both in front and rear for the cruisers, and flat washers with Eliminators HPF bushings from Venom for high-speed longboards like the Wasp. On standard non-electric skateboards (cruisers or technicals stake boards) not intended to downhill or high speed, we use cups washers with a combination of barrels and cupped bushing.
Configure and install your bushing
Bushing tuning is highly complex but a resource for a lot of improvement of you board behavior. It is possible to mix any type, shape, urethane formula or hardness of bushings. You can even mix different bushings on the same trucks (this choice of bushing configuration is called a “synthetic split”). In the next paragraphs, we will study different bushing configuration to understand how to define a proper bushing setup.
Synthetic split bushing configuration
If you have a look at a Solo board from Unlimited x Loaded, you will see a different color for bushings of fronts truck and bushings of back trucks. In front, they are orange, in back they are yellow. All bushings on this setup are maintained in place by cups washers.
Other boards like Boosted ones have a symmetrical setup. The trucks from some vendors like Flipsky also come with symmetrical setup and unknown origin bushings. For low speeds and carving, a symmetrical setup is fine, but not for higher speeds where stability becomes as important as maneuverability, Electric skateboards are all capable of speeds up to 35 Kph (21 Mph) and over: the capability of a downhill longboard. That’s why you should not keep trucks (including Caliber or Paris ‘compatible trucks’) with unknown origin bushings: most of those are not made to sustain safely high speeds available with electric skateboards. And that’s the reason why Unlimited x Loaded decided to assemble the Solo with a synthetic split set: to allow the front to turn easier than the rear while maintaining stability at high speed.
And that’s why you should replace unknown origin bushings equipping so-called Caliber or Paris compatible trucks: most of those bushings are not made to sustain safely high speeds available with electric skateboards.
The design of the Solo includes bushings from Orangatang (designed by Loaded) : Nipple Bushings are used, the soft 85a (orange) for the front, and the harder 89a (yellow) for the rear. The name Nipple used by Orangatang is only the commercial designation for the double barrel bushings of the brand.

It is a very interesting bushing setup as the Solo is a kind of hybrid board : its a reasonably sized cruiser (with a 33” deck), not too heavy, but able to go fast (we validated the catalog speed of 23 Mph / 37 Kmh). So this is a board that can be used to kickflip, frontside 180 turns, to ollie (a little bit heavy but possible), to jump, to cruise, to push, to carve, but you need to be stable if you ride at 40 kph (we did it with rear wind) on a cycle lane. The choice made by Unlimited is a very good one :
- Double barrel for stability at high speed
- FIxed by cups washer to maintain some capacity of resistance
- High durometer on the back for stability at high speed
- Lower durometer in front to get some flexibility and turn easily when you carve
We can see here how there can be real engineering work to do on a proper bushing setup, according to the board objectives, and its targeted performances, including its range of speed and its usages. All those endless possibilities might look difficult to tackle, but with a little bit of ride experience, you will literally feel those characteristics when speeding or carving. And if you try to go backward with the Solo (for example on top of a mini ramp), you will feel the asymmetry of durometers between front and rear.
Tightening the trucks
All good quality bushings respond a lot to the amount of pressure the kingpin nut is exerting on it. A good start will be to just tight enough the kingpin nut to take all the slop and rattle out of the bushing stack. This will be your starting point. Then you can adjust to your liking by ¼ turn. Turn until you get the feeling you are looking for. Never exceed 2 full turns past the starting point.
It is sometimes suggested that if you have more than two threads showing on your kingpin and you need to restrict the turn more, again, you need to change your bushing/washer setup. In fact, it depends on the size of the kingpin and of the bushings: you can have sometimes a kingpin with only a few threads remaining.
You should never tighten too much a truck kingpin nuts to obtain a specific truck behavior: the behavior of your board should come from the proper choice of bushings, not from tightening. If you feel you need to go that far, then your bushing durometer selection and shape are not the good ones and you will have to change your configuration and increase the durometer. Over tightened kingpin nuts will result in destroyed bushings and pivot cups, stripped kingpins, altered geometry, and a dead truck. If you excessively tighten the truck to fix a stability issue or a wobble fear, you will destroy the bushing, and the board will behave more erratically and its reaction will be difficult to anticipate at high speed: the exact opposite of what you are looking for !
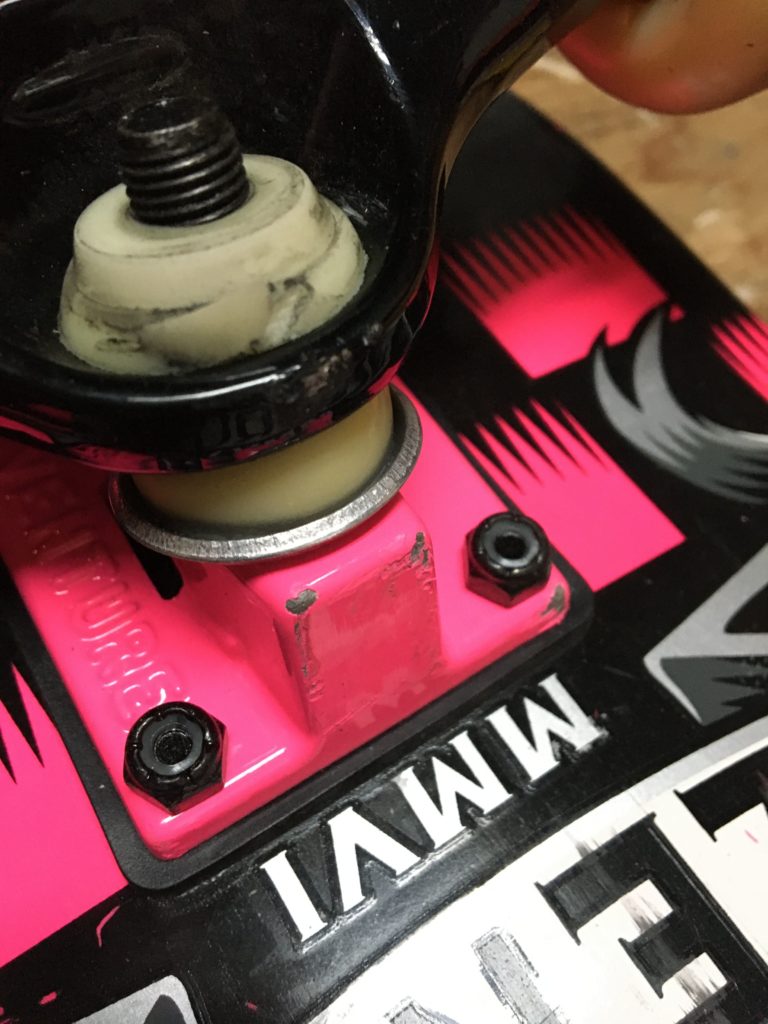
How to tighten between front and rear trucks
The general rule is to have both trucks behaving the same. If you need stability and high speed but still want to be able to carve and play at low speed, setting the front truck up so that it turns more than the back truck is a common practice. It has a number of advantages. Firstly, it reduces the likelihood of speed wobble. Secondly, it makes your board steer like a car, which is way better for tracking corners and holding lines. Thirdly, it makes your board hook up from slides a bit more easily, which is good for controlling speed checks and pre drifts.
Never set your front truck up tighter than you back truck: it will make your board skate like a forklift truck as it will steer from the back (this is the feeling you can have backward rolling with the Solo as explained previously) .
The good configuration
We suggest below a set of configurations we tested with our range of boards. Those configurations are the ones we used on our skateboard park (electric or not) and are set for a 85 kg rider. There are tons of good brands American made bushings that you can choose from. Some names :
- Venom bushings: two very good urethanes formula, SHR and HPF, with 4 of shapes allows a very rich combination of setups. Website for venom is here and their Youtube channel is also full of tips.
- Orangatang bushings : 2 product lines – cone+barrel and barrel+barrel – with only three hardness, but an incredibly smooth and rebounding urethane formula. Visit them here.
- Bones bushings are more for cruisers and skateboards : a simple setup proposition with double cones and one flat washer and 3 hardness 81a, 91,a, 96a. We tested the medium 91a on a street skateboard : it changed completely the behavior of the board and made it one of the greatest to use. When you install them they make for some hours a strange squich noise but it’s fine and disappeared after usage. Visit them here.
- Riptide is known for its wide range of formulas, shapes, and kits. It is a very good brand with a great reputation. You can visit them here.
Those are the brands we know, but surely there is others. The best way to discover them is to go to your local skate shop. Ours is BoutiqueRollin in Montreal. We order online, it’s free, and they ship fast. We mostly used Venom bushings because of the range of Duro, shapes, and urethane formulas they offer, allowing a very rich choice of configurations.

Set up your trucks for:
– Short Cruiser (30 inches deck or smaller, speed under 30 kph) : maximum turn and lean
This kind of electric skateboard is rare and mostly used for short commute in the city at low speed. You can use for this one some soft cone bushings, top and bottom, rear and front, and use cup washers. The board will lean and turn as much as possible, you will be able to trick a little bit and play on spots but it will not feel safe at high speed. For electric skateboards, we would try (at this time we did not) those configurations with Ownboard Mini Kt (30 inches) or a boosted Mini X (29,5 inches).
| Configuration type | Front bushings | Rear Bushings | Comment |
| Soft Cones deck and road side | Bones Bushing Medium 91a – Bones flat washer | Bones Bushing Medium 91a – Bones flat washer | Very flexible board with a good rebound. Classical configuration for skatepark skateboard, usable with a low-speed electric board dedicated to street. |
| Soft Cones deck and road side | Venom Street Cones SHR 91 red – cup washers | Venom Street Cones SHR 91 red – cup washers | Flexible board with good rebound |
| Synthetic split soft barrel and cones deck and roadside | Venom Street Cones SHR 91 red – cup washers | Venom SHR Barrel 93a white -cup washers | The asymmetry between front and rear will make the board more turny in front and stable at higher speed |
– Cruiser for carving and cruising (over 30 to 33 inches deck, speed range from 5 to 40 kph )
You can use a barrel on the bottom, and a cone on the top. Medium durometer is fine for the top and the bottom. Cup washers are preferable, as they help the truck return to centre for a nice bouncy, responsive ride.
| Configuration type | Front bushings | Rear Bushings | Comment |
| Soft barrels front and rear, deck and road size | Nipple Bushings (barrels) 85a (orange) – cup washers. | Nipple Bushings (barrels) 89a (yellow) – cup washers. | This is the setup for the Solo Unlimited board. This setup looks more adapted to an 80 kg rider than an 85 kg rider – according to the duro – but in fact, it gives a lot of rebounds and carving capacity while being very stable at around 40 kph, because of the specifics of the urethane formula used. Orangatang delivers the Nipple double-barrel with flat washers but they are mounted with cups on the Solo board. You can use the original flats washer if you use those barrels on another cruiser, it will do fine. |
| Cones and barrels deck and road side | Venom Street Cones SHR 91 red – cup washers | Venom Barrel SHR 93a green – cup or flat washers | Very flexible board with good rebound but the harder duro on rear barrels provides good stability. This setup is very similar to the ones provided by Solo unlimited boards (while a little bit less rebounding). You can try Venom 87a purple front and 91a red rear SHR barrels combination if you want to feel more like with Orangatang barrels (but, honestly, if it is to do that and get that kind of feeling, you better choose the Orangatang barrels). |
| Synthetic split barrel deck and roadside | Venom Street Cones SHR 91 red – cup washers | Venom HPF Barrel 94a white -cup or flat washers | We like a lot this configuration with HPF on rear and SHR in front – that we use on the Beetle – with its strong rebound and great return to center while providing a lot of stability. |
– Longboard for faster freeride (over 33 to 40 inches deck, speed range from 15 to 50 kph )
You can use barrels top and bottom for going a bit faster for more stability. Choose a medium or slightly harder durometer depending on your speed. However, a more lively truck with Cup Washers will feel nicer in the carve, and reduce the possibility of wheelbite.
| Configuration type | Front bushings | Rear Bushings | Comment |
| Cones and barrels deck and road side | Venom Street barrel SHR 91 red – cup washers | Venom Barrel HPF 93a green – cup or flat washers | A configuration mixing SHR formula and low durometer in front (for turning flexibility) with HPF formula on the rear to get stability. This is not the configuration to trick, but you can carve with pleasure. |
| Synthetic split barrel deck and roadside | Venom Street barrel SHR 93 green – cup washers | Venom HPF Barrel 95a glow in the dark -cup or flat washers | A high durometer configuration to allow speed and turn, using the SHR formula. This will not be the best board to turn and carve, but it is still ridable in the city and really comfortable on straight lines at high speed. |
– Longboard for downhill and maximum speed (over 40 inches deck, speed range mostly from 20 kph to 50 kph and over)
For downhill and high speed on track we recommend that you stay away from cones entirely, and stick to barrels and eliminators (or similar like kingcones). Harder duros than you would choose for slower skating are also where you need to be. Never tighten your trucks up to get stability : those setup with the proper duro according to your weight should provide stability with a normal tightening. A properly set up downhill and speed board will feel pretty rubbish pushing around a turn on a bicycle lane, but once you get up to speed, it’ll come alive. The more stability you will get is with a double Eliminator: but do not expect with it a radius less to 6 to 8 meters to turn a 180. Go with cup washers and harder barrels to get a better return to centre and more rebound from your trucks. Go with flat washers and a barrel/eliminator combo for a duller, more solid feel.
| Configuration type | Front bushings | Rear Bushings | Comment |
| Synthetic split Eliminators rear and barrels front | Venom Barrel HPF 90a red – cup or flat wahser | Venom Eliminator HPF Bushing 93a green – flat washer | HPF formula front and rear, but front is with a barrel and less duro. This makes the board easier to turn. The HPF formula is not bouncy so a 93a will be rigid enough for such a setup. |
| Eliminators front and rear | Venom Eliminator HPF Bushing 93a green – cup or flat wahser | Venom Eliminator HPF Bushing 93a green – flat washer | The HPF formula and the barrel shape will make this board very stable over 50 kph, but it will need more radius to turn. The HPF formula is not bouncy so a 93a will be rigid enough for such a setup. |


